
In between all of my other work, I've been slowly building a spare washroom in our basement. This will serve as the main washroom when we tear out the existing one on the first floor.
The washroom did not come about easily as the space was filled with a furnace, a 4' concrete sink and top loading laundry units. In addition to that, the water heater was located in what is our current home office. A game of design and construct chess started. I won.
So. To get started, I had to get those space hogging Laundry units out of there. But where??? I saw that I had the potential to relocate the laundry pair (albeit a new front loading pair) to the crawlspace area, just under the stairs. This would make the units take up zero usable floor space. Once we got the concrete sink out and plumbed for the washroom and the laundry (progress is here, here, here and here), I framed the washroom and outside area,
I then contracted a Tin Knocker to push the ducts closer to the stairs to give me more headroom and clearance in the small vestibule area that would serve as our new laundry area.
I then proceeded with building the laundry alcove and got Mike to do the supply plumbing.I finished building the rest of the washroom and it was then on to tiling.
My initial purchase for the washroom was 4x12 Grey gloss subway tiles. However I felt that this would date the washroom and I opted for the more modern look of 12 x 24 matt tiles.

Schluter Kerdi was my choice of waterproofing for the walls

I wanted a full tile to line up with the sink to act as a backsplash. This took some planning, obsessing, measuring and remeasuring before setting the first course of tiles. Thankfully it all lined up.

On to the adjacent wall working towards the Niche.

Getting the holes all lined up, was a small task
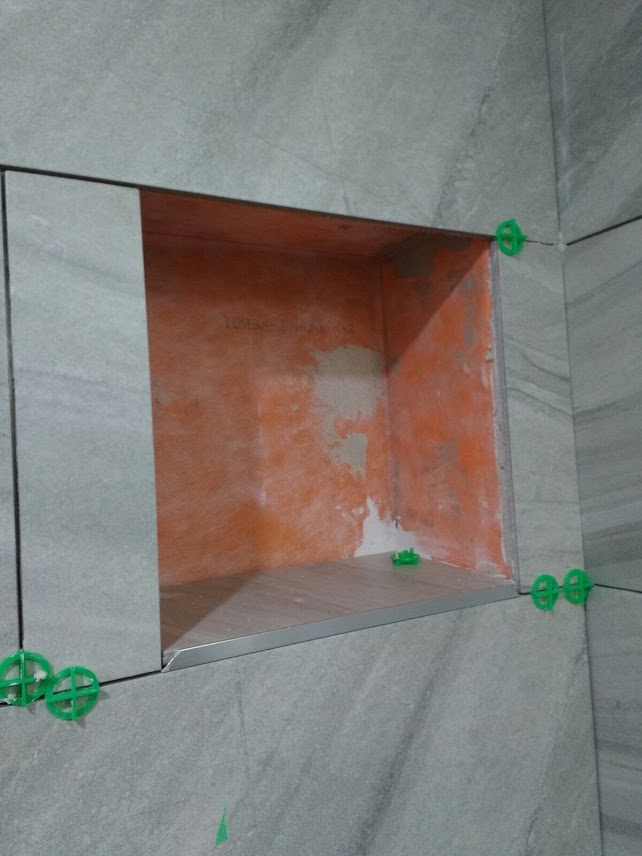
Base of Niche set

It's important to maintain a 1 degree slope to drain any residual water on the bottles

Using a Bevel Gauge to get the slope transferred to the side walls

Getting the niche to fit exactly between two tiles takes a bit of planning, but the end result is well worth the extra grey hairs

All done awaiting grout

Niche detail

All grouted. We mixed up 4 custom colors of grout to test what it would look like when dry. I wanted the grout lines to disappear and I think we almost got it.

Detail showing how the tiles line up with the sink

This is where the laundry pair now sit.

Since space is at a premium here, I constructed a shelf from drywall to hold the detergents

I had some balance mosaic tile from a previous job and decided to tile the back of the cubby.
Check back to see the finished washroom with the glass shower doors installed.
To see more of our work visit our website at
Subscribe to our website to receive more of these design tips in your inbox
No comments:
Post a Comment