Thursday, March 19, 2015

Fenwick Living Room Redecorate

Sometimes life gets so busy that you live in a space for decades and nothing in it changes. This living room was put together 18 years ago and it remained the same till the beginning of this year.

Our client wanted a complete overhaul of her living space that reflected her current lifestyle and wanted to update the room in line with current trends. Since she does crazy shifts, it was important to create a warm and cozy space for her to come home to and be able to relax in. She loves plants so we incorporated botanical prints in the artwork on the walls and the personal touches around the room.

What you can't see here is the popcorn ceiling that we took out and repainted a bright white. The walls were painted a pretty duck egg blue which has a calming effect when you step into the room. It was important to have a flow between the living and kitchen by choosing complimentary colors. The kitchen is done in a light taupe/grey color. 

Before:

After:


Lots of texture and natural elements were used to decorate the room. Coral is very on trend now - the object and the color.


Every room needs flowers and they do not need to be fresh all the time. Here we used dried Hydrangeas from my garden to bring in a rustic element.


This fruit bowl is Nate Berkus for Target, and the perfect piece for the dining table.


Warm knitted throws draped on the armchairs added a textured layer and a creamy color.


This porcelain blue tray from Urban Barn was a beauty.


This Mid Century Modern table was the perfect fit in the room. I wanted something long that pulled the eye in toward the window and something with rounded edges. 


Botanical prints from a vintage book were the perfect fit in this cozy room. I decided to put them on both walls giving it a symmetrical look. And the client was absolutely delighted with them.


Pot lights on dimmers and the light filtering through this burlap lampshade make the room inviting in the evenings.


These pics were taken a couple of weeks later after the fabric blind had arrived and was installed. It provides much needed protection from the direct sunlight during the day and a lovely textured layer to the large window.


The table was set up with matching burlap table mats for the evening.


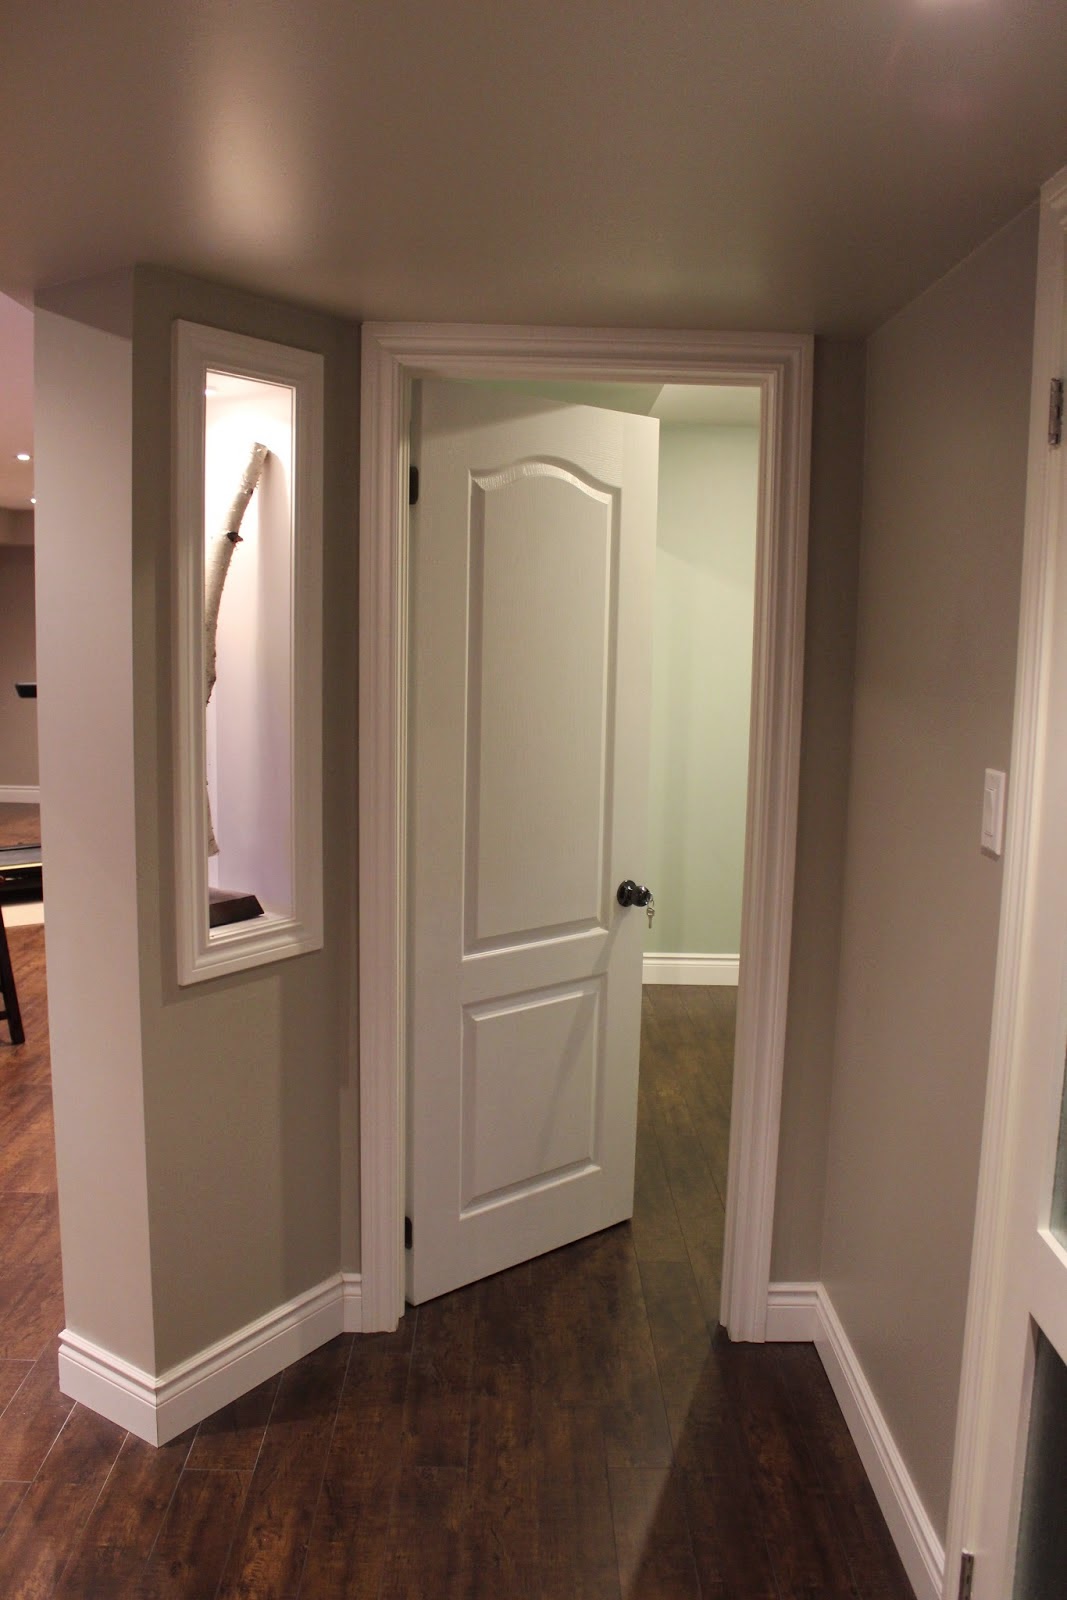
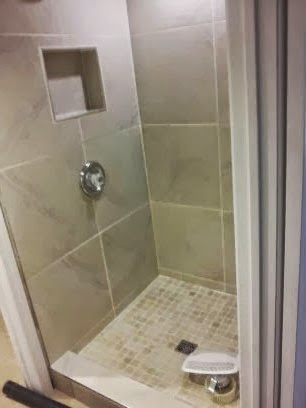
What made this a wonderful job for us was that the client was super easy to work with and gave us creative freedom. Dhiraj also did her kitchen build  and basement design and remodel. We are so excited for the Home Tour happening on March 28, 2015...............9 sleeps more to go ! 

If you would like to join us for the Home Tour to view the living room, full kitchen remodel, basement design and build, then you can email me at contact@wildenorth.com

Hugs
Lynda

Wednesday, March 11, 2015

Home Tour at Fenwick Residence

We are wrapping up work at the Fenwick Residence where we completed the Living Room Full decorate gig, Basement build and Kitchen remodel. Since this is the first time both of us have done work in the same home we thought it would be a good idea to host a HOME TOUR for our clients. The homeowner has kindly allowed us to host it on March 28, 2015 and you are kindly invited to drop in anytime from 4 - 10 pm on the Saturday.

This is the first time we have done something like this and are super excited for our clients, friends and family to see our work in person. 

If you are keen to join us for the tour please email me at contact@wildenorth.com

Hugs
Lynda


Thursday, March 5, 2015

Micro Design: Wall Niches


Until I got into the business of renovating, I used to associate niches with stately homes, in pre-Edison times, where Florence Nightingalesque women in diaphanous nightgowns would set their candelabra while looking out over their moonlit estate. Granted, they all wouldn't be in diaphanous robes, but sometimes my mind is dirtier than a basement in progress. 

These days builders give you very little architectural details while taking all of your money. When building spaces, I like to create architectural features when the opportunity arises. 


RoseHurst Home>>

Here, in cladding a pillar, I added a pass through niche, in which I elevated a single branch of a birch tree. The branch was from the tree in my yard. The base was cut from a 2 x 8, relieved with a 15 degree angle and the upright is a nine inch nail recovered from an eaves through job.


East Mall Home>>

In this case, a solid cinder block pillar necessitated building a dummy wall. This allowed us to recess a small display niche for some of the homeowners curios.

Fenwick Home>>

Here, an opportunity arose to have three niches built. Look at this post for the science behind the numbers.

Beckwith Home>>

In this case, the location and proximity to the TV, inspired me to recess the homeowner's A/V equipment into the wall itself. Though not technically a niche, and more of a cabinet with a door, this employs the same thinking as the above niches.

As always, I add lighting to these niches. This allows the objects d'art or common crap to be elevated into the design firmament.


Let's not forget the more functional washroom niches that I insist on building in every shower cubicle. In the past I've seen shampoo bottles (I live with three women) line the tub, line the floor, set on a rusted corner stand and hung on a caddy from the shower head. Let's not fool ourselves. They are all crappy options. The most elegant solution, is the wall niche.
  
I usually build mine out of the direct line of fire i.e. away from the water spray and on the same wall of the shower controls. The niches all slope down one degree and mitigate the destructive effect of standing water. Your shampoo looks nice all lined up, no rust stains from some piece of junk, no strained back from bending down to pick up that bottle.


East Mall Home>>

RoseHurst Home>>

Beckwith Home

Cloverdale Home>>


And don't forget, I can build them as big as you want......

Dhiraj.

Saturday, February 28, 2015

Designing with Design Boards


When it comes to interior decorating my head is swimming with a million ideas but for others it may be difficult or perplexing getting started. To help you get started with the direction you want to go in I have created some DESIGN BOARDS. These give you several different options with regards to what style you lean towards, color schemes, furniture and artwork choices. Personally I like neutrals but am leaning towards color these days with coral being my favorite color at the moment.

Below are three of the many Design boards for you to peruse. You are sure to find something you like or lean towards in the other boards on the website here. Let me know which is your favorite and why.


See more samples of Design Boards on our website and if you are looking for direction or inspiration feel free to pick my brains and together we can come up with a happy solution.

Hugs
Lynda 

Wednesday, February 25, 2015

Fenwick Basement Build....the Servery, the Laundry Room, the Custom Bar and more

The basement is almost done and I had to stop barrelling forth in order to do some of the custom work. You can see first round of pics here. Updates on:

The Servery


This is in the Servery. I had to bump out this wall 4 inches in order to accommodate the furnace vent pipe, this allowed me to build these custom alcoves. Why three?? Why not two or four?? Three is a very popular number that has made it's way into every aspect of the world's culture from religion to design. The basic idea of the rule - information and objects that appear in three are more appealing. Think rule of thirds in photographs and paintings. Think three act plays. Think fairy tales - The Three Blind Mice, The Three Pigs, Goldilocks and the Three Bears. Religious Triptychs - The Christian Holy Trinity, The Hindu Trimurti, The Three Jewels of Buddhism. Mottos - Liberte, Egalite, Fraternite. Veni, Vidi, Vici and of course, Wilde North's Design, Build, Decorate.

The recessed puck lights elevate the space and will serve to illuminate whatever the home owner chooses to display within.


In the Servery, I did not want a bank of cabinets as this is not going to be a full fledged kitchen, but a space to rinse a cup or two, and reheat food or make a microwave popcorn without having to leave what's on screen and go up a flight of stairs to the main kitchen. I suggested having only two cabinets, one at either end with and open space between them where bar stools will be placed. This makes the space multifunctional. At the far left resides a fridge and the adjacent cabinet will hide the microwave oven.


The Counter Top as well is custom. We used hardwood flooring strips that was left over from the home owner's main floor flooring project. The wood will be sanded to remove the coating, and then stained and lacquered.


The Main / TV Room


The space as it stands. The pillar visible in the first picture will be covered by a pillar kit. Pot lights line the ceiling and are spaced out to provide even illumination. The TV area is still to be worked on. I mentioned that I needed a creative solution for this space and I have a plan that I am working through. Stay tuned for more pictures on this space.


The Laundry Room


The laundry room was to be unfinished in the original plan. However the homeowner wanted no unfinished walls to remind her of the original space. The space was framed, insulated, drywalled and painted. We installed a new laundry sink. I also installed a full length cleat behind and to the right of the laundry pair. This was the support for the countertop. An extendible leg from Ikea provided the one support at the left of the pair. The corner was rounded to prevent damage to the countertop as well as to soft tissue that humans are made of. The countertop is essential in my view as this prevents stuff from falling behind the machines as well as a handy surface for folding clothes. I added the alcove as an afterthought to store laundry items. This one is purely practical. A simple wrap around shelving unit will complete the space.


The Custom Bar


And finally, what I believe will work out quite well, is the "Little Bar under the Stairs". I conceptualized this while getting a feel of the space. I wanted to do something unusual in a space that was rather challenging on account of the stairs. The wine bottle rack fills up an oft forgotten space, below which will stand a cabinet that will roll out to allow access to the crawl space beneath the stairs. Under the stairs will be shelves to hold glasses. I wish I could explain it properly, but it all resides in my head for now. A bar under the stairs....... Harry Potter would be so proud. Now that he's all growed up. If Ginny allowed him the occasional libation of course.

Stay tuned for final pictures in the upcoming weeks. This one is going to be good.

Dhiraj.

Tuesday, February 17, 2015

How To Decorate A Small Foyer

Our Semi has a tiny foyer and with a space this small it's best to go over the top with decor. We decided to paint the focal wall a happy turquoise blue and ordered these gorgeous filigree decals from Blik. The opulent Venetian mirror sits above a distressed bench and is the perfect pairing of contrasts. The mirror is from India found in a small mirror shop on the streets of Bandra - I spotted it from a moving taxi and went back for it (and now you know my super power!).

While strolling around our neighborhood in Dubai, we spotted an old discarded bed on the curb. We both loved the headboard design and so we carried it back home on our shoulders. Soon after D cut it up and turned it into a sweet bench. Here I have dressed it up with a faux fur rug just to soften all the wood.

I wanted somewhere to hang the hats and we got this pretty wrought iron rack at a garage sale here which I dressed up with some of my beaded necklaces. It goes perfectly with the filigree decals.

This is what I love about our home. It has pieces from all the countries we have lived in and each piece has a story. Really it doesn't have to cost a bomb to decorate a home. Vintage pieces, garage sale finds and re-purposing stuff can do the trick. You just need a little imagination and a lot of love ! 

Do you have any foyer concerns? Feel free to pick my brains on design solutions for small spaces.


Hugs
Lynda

If you are looking for solutions for your home, contact us about our design, build & decorate services.

Thursday, February 12, 2015

Launch of Wilde North Interiors


If you've been a regular visitor to this blog, you've no doubt noticed the change to the header. No -  you've not happened upon some random blog instead of your usual haunt... (I live in hope, no need to burst my bubble)

For the longest time, I've wanted to go with a formal business name instead of my own. It needed to be different, yet personal. No Maple Leaf, Canadian, Ontario - those are done....... quite overdone actually.

When I was much younger, my father tried his had at animal husbandry. Pigs to be more specific. He set about naming this fledgling operation, Wilde Pigs. Wilde is a derivative of WILma, my mother and DEnzil, my father. I'm not exactly sure of what happened to the operation, but I do recall the letterheads quite clearly.

While brainstorming names, Wilde kept coming up over and over again. I did want to have Lynda involved more in my business with the interiors as well as a stand alone interior designer for my customers.

I thought about it a bit more and realised almost serendipitously that NOReen, her mother, and THOmas, her father, make up the word North. And that's how Wilde North came to be. But it's not just old wine in a new bottle. We now offer Design help and Interior Decorating services.

Hop on over to www.wildenorth.com to learn more about our processes and see the gallery of work I've done over the last few years. Let me know what you think. I value your feedback.

Dhiraj.

Friday, February 6, 2015

Wilde North got legit !!

The new biz cards came in yesterday and it's definitely a first for me....having both our names on the same card. Actually its the second time......the first was our wedding card. Did some shots of them for all social media and here are some of the pics. I have realized that I do like photography and playing with my Canon T3i.

Photographed it on our vintage compass highlighting the NW sign - get it?!!

I do like photographing against vintage rusted elements like this antique fan


Thank you to everyone for their outpouring of love and support these last few weeks. I am excited to share the current LIVING ROOM REDECORATE that is nearly finished - just got to put up the curtains next week and will do the final reveal after.

Hugs
Lynda

If you are looking for solutions for your home, contact us about our design, build & decorate services.

Related Posts Plugin for WordPress, Blogger...