Tuesday, January 27, 2015

Interior Design Show Toronto 2015

Hello,

This is Lynda here, guest blogging for Wilde North on the Interior Design Show 2015 Dhiraj and I attended yesterday.
INTERIOR DESIGN SHOW 2015
The IDS15 was a great venue for us to meet new vendors, suppliers and just browse new products. Being a Sunday I thought it would be crowded but it wasn't and that gave us time to chat with some of the talented artisans at the Pop Up market and other booths.

Have you seen anyone get excited over LINEAR DRAINS ? I did ! Dhiraj just lit up when we got to that booth. Linear drains are very versatile, they allow the use of large format tiles as opposed to the traditional mosaic tiles. This allows the same tile to be used on the floors and minimizes grout lines. They also allow for curb free or accessible showers. With an ageing population, this is becoming more important.

I was more into the Decor items, wall paper (which is so in right now), tiles and carpets. Some of my favorite booths were the Beautitone booth with the multiple horse heads and the Urban Barn booth that had some sexy furniture & Accessories. 

Beautitone paint stocked at Home Hardware

Urban Barn
They got it so right with the upholstered coffee table and tray vignette.


I spent quite a bit of time at the Art Gallery booths with Daniel Hughes's work of Impressionist Portraits leaving me in awe. His use of muted colors and modulated brushstrokes is a style of painting that I have always favored.


Daniel Hughes
 We got to view the new IKEA Kitchen which has been totally redesigned. Notable changes are the cabinet sizes which allow for custom combinations and the drawer units which allow for evenly spaced drawers top to bottom. Cannot wait till it hits shelves on Feb 02, 2015. As you know we don't use IKEA cabinets for kitchens only, we've used them to build out workstations as well as this custom / media toy storage unit.


Always loved these vintage inspired handles


These tiles ! They had me floored ! wink ! 


I definitely have a weak spot for Industrial lighting

We even got to see Marilyn Denis and Lynda Reeves doing a Q&A up on stage - that was a treat. I think we just missed Suzanne Dimma editor at House & Home magazine.


Some of the booths were uber chic like the Montauk Sofa booth which was covered top to bottom in plaid. And the super large swing installation for kids and adults - I absolutely loved this.


I am a simple girl and this is definitely my idea of Date Night with the husband, just the two of us and good design.

Hugs
Lynda

If you are looking for solutions for your home, contact us about our design, build & decorate services.

Monday, January 5, 2015

Fenwick Basement Build - Preliminary Pictures

Just started prep work on a new basement build in Mississauga. This is a town house with approximately 500 sq ft. of unfinished space. As part of the build, we relocated the laundry area to an alcove near the stairs. We had to put in a new floor drain and drains for the washing machine and the laundry sink as they are on opposite walls. The old blanket insulation was removed and disposed off prior to the photos being taken.

This is the main wall and the wall that the TV will be mounted on. I have to come up with a creative solution to hide the Main Panel.

New floor drain and pipes for the Washer. The sink will be at the side of the stairs.

Stairs and landing coming into the basement. 

The existing laundry pair. This will become the kitchenette area.

 The main wall again.

Existing laundry and furnace area.

Another view of the existing laundry area. This will become a future Kitchenette.

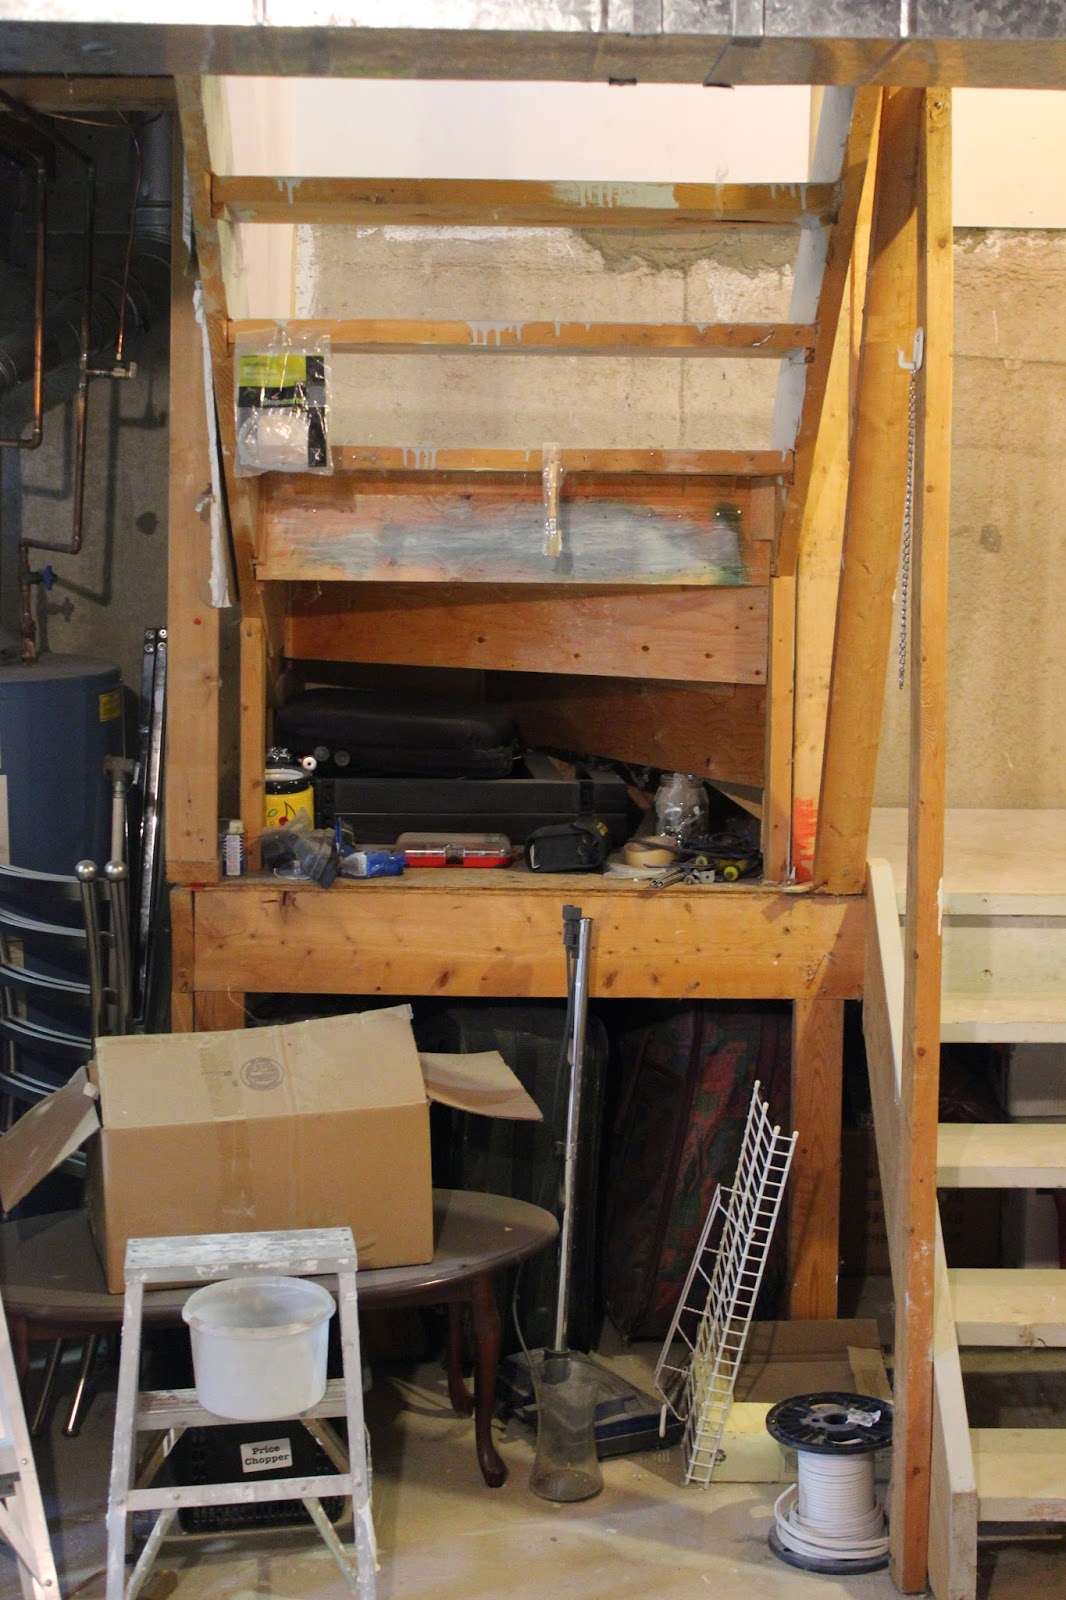
 I had to bring down the old sofas from the living room. Good thing I did it now as I had to remove part of the stairwell. The only way they're ever going up again is is pieces......


I am going to try out something new here. Stay tuned

Dhiraj

If you are looking for solutions for your home, contact us about our design, build & decorate services.

Wednesday, December 17, 2014

Hacks are all around us...

This morning I received a call from a gentleman that I know through my Aunt, but he is not someone that I've done any work for. The reason for the call was a leak from his newly built shower. Why me??? I had built my Aunt's shower a month before he had his done. He asked if I could shed some light on the work done.

One look at the hole in the ceiling below the shower was all that I needed to understand the mindset of the guy who built this and of a lot of people out there who pass themselves off as contractors and handymen.

This hack had not replaced the strip sub floor, had placed the liner directly on the sub floor without a pre slope and from what I could see, the top layer seemed to thin down to infinity which is exactly where his ass should have been dispatched........

So in honour of Hacks like these, I present you a gallery of  'You always get what you pay for'

Have you ever heard of a ABS to Copper Transition coupling??????

The liner.... I can see the liner.... Do you comprehend P R E S L O P E ?????? What the hell did you do to the Sub Floor????

A 72" spirit level would have helped....... to beat some sense into you. You don't need tools to see that the drain is anything but square, level or plumb

Duct tape will not fix everything...... 

Did you cut this recess with a butter knife??? and then try to cover it up with caulk????

I guess junction boxes are overrated.....

as are the clamps that are built into junction boxes

Why bother clamping your cable when you can pierce the wire with a loooong effing screw....

and why bother with a junction box, when you have the opportunity to short it against the copper stack pipe......

This is known as a faucet extension. All the rage......

By now we've established that junction boxes are no longer necessary.... or desired.

OK. Who invited the ants. It looks like they brought the entire colony.

Who needs a stud detector when you have a hammer

If I had a hammer......

This situation needs Divine intervention......

 Someone approved this tile job.....

Stud detector???? I have a drill.......

And finally, we can do away with proper venting as well


Disclaimer: These are images curated at various times during my various jobs and are NOT my work. But you knew that already........ 


Dhiraj

If you are looking for solutions for your home, contact us about our design, build & decorate services.

Saturday, September 20, 2014

Rectifying a Flawed Kitchen Vent

A Kitchen remodel that I am working on called for an upgrade to the venting system from 4" to 6" on account of the change in the fan. The newer unit moves a higher volume of air that the existing 4" would handle.

The existing vent ran through a bulkhead above the kitchen cabinets to the outside and then through the roof and out a roof vent. Or at least it should vent out a roof vent. This was not the case in this install. The 4" flexible duct was pointed at an attic vent and left like that.

 An attic vent is supposed to remove air from the attic through convection and should not be used to vent any devices under pressure

What I found when I removed the attic vent

What's wrong with this??? Firstly, there is no positive connection to the outdoors. The flexible duct is merely pointed at the vent. Should the vent get blocked or squished, the air flow (in this case containing moisture) will be vented into the cold space of the attic and condense into water and lead to mold issues. Exactly what I found when I removed the ceiling to repair the bow.

After removing the vertical drywall section of the bulkhead, I ran a rigid 6" duct all the way to the end where it connected to a 6" flexible duct and up into the small attic section. 

 All joints screwed together and sealed with foil tape

6" elbow to connect to the range hood. The old 4" hole is visible to the right. Modifications to the layout of the kitchen meant a new location for the duct

From the outside I pulled the flex duct through and connected it to the supplied collar. I had to enlarge the hole and reinstall the collar. The collar has to be slipped under the top shingles so that the water flows over the vent and will not enter attic. After this the actual roof cap is installed over the collar, but under the top shingles as with the collar. What you have now is a venting system with a positive flow to the outdoors. No condensation problems any more.

The flex duct, screwed and taped with aluminium foil tape. 

Roof Cap installed 

Another view of the roof cap

Dhiraj

If you are looking for solutions for your home, contact us about our design, build & decorate services.
Related Posts Plugin for WordPress, Blogger...