Showing posts with label Fenwick Basement. Show all posts

Thursday, December 3, 2015

How to Style Your Home Bar

Aside from the kitchen which is the hub of all homes, guests are always hanging around the Bar. Whether it be a full scale bar in your living room/basement, or a bar cart outdoors, booze always seems to bring people together.....  Just kidding........... We all know that food brings people together but booze comes a close second.

With the Christmas/Hanukkah/Kwanzaa/Festivus season upon us, here are some ideas on how to style your Home Bar, be it a full scale bar counter, a two tiered bar trolley or a pretty tray on your console table. 

The key ingredients are:
  • A collection of mixed alcohols in pretty bottles
  • Cocktail shaker and mixing implements
  • A bowl holding lemons - they add a nice spot of color
  • Some flowers - they bring freshness to the space
  • A collection of your prettiest glasses
  • Champagne bucket
  • Ice bucket
  • A piece of art whether print or sculpture
  • Pretty napkins and straws
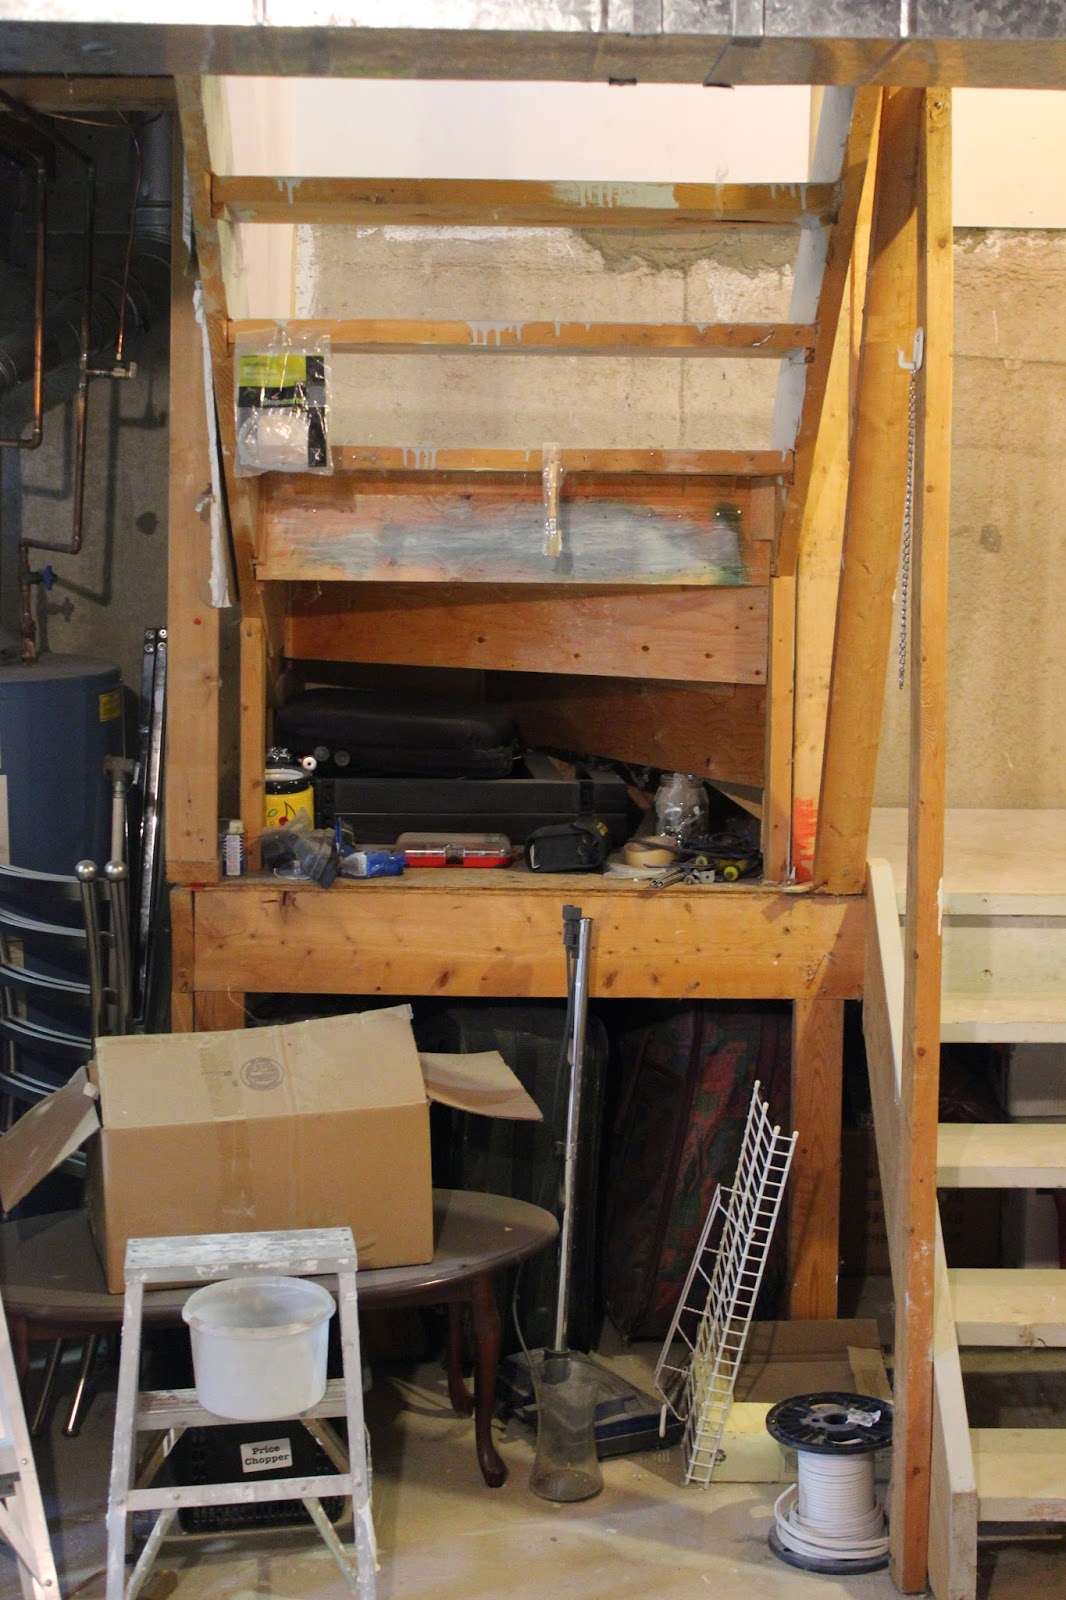
Here is a pretty bar that we created at the Fenwick Basement Remodel  which was custom built to fit under the stairs. The wine cubbies and wine racks were custom built to fit the awkward space directly under the stairs, while the cabinet is on wheels and slides out to provide storage behind. The counter top is made from reclaimed strip hardwood floor and set in a chevron pattern. While D builds, I decorate. The bar was styled for the Home Tour happening that weekend.


I used a mirrored tray to hold a crystal  decanter, bottles and lemons, with a matching champagne bucket on the left. The shelves were styled with a mix of glasses and decor items. A bar doesn't only have to hold bottles and glasses. Sprinkling a few decor items breaks up the monotony and lends a pretty touch to the shelves.
I didn't want the accessories to fight with the colored bottles below hence stuck to an all white scheme. Remember the rule "Less is More"  in every styling scenario.


See pics of this entire FENWICK BASEMENT on our website.
When you are tight on space, a Bar Tray on your console is a great idea to house your bottles and cocktail implements in one place. Here is one I styled with a collection of gold implements and matching glasses. 


I picked wine glasses with a gold rim to match the mixing implements, and added Moroccan tea glasses for some color with the intention of using them as shot glasses or for liqueur. 

The pretty crystal ice bucket fits in perfectly without blocking the artwork which acted as a backdrop for the tray.


And here is an outdoor Bar Cart I styled back in Summer, it used to be a Vintage Charmglow BBQ that we saved from the garbage dump and turned into an outdoor bar cart. See HERE for before and after pics of this beauty.


I kept the glasses, cans and implements on the top tray, and the bottles on the bottom tray. Added a pretty colored pot with a Thyme plant on the bottom tray to bring some greenery to the arrangement. All items were curated by myself from various stores, flea markets and thrift store. 

And with just these simple tricks you home is partay ready ! This will definitely impress your guests and bring them together ! Happy Entertaining folks!!!


If you would like to see the Custom Home Bars we have built visit our website 

Hugs
Lynda

Thursday, March 19, 2015

Fenwick Living Room Redecorate

Sometimes life gets so busy that you live in a space for decades and nothing in it changes. This living room was put together 18 years ago and it remained the same till the beginning of this year.

Our client wanted a complete overhaul of her living space that reflected her current lifestyle and wanted to update the room in line with current trends. Since she does crazy shifts, it was important to create a warm and cozy space for her to come home to and be able to relax in. She loves plants so we incorporated botanical prints in the artwork on the walls and the personal touches around the room.

What you can't see here is the popcorn ceiling that we took out and repainted a bright white. The walls were painted a pretty duck egg blue which has a calming effect when you step into the room. It was important to have a flow between the living and kitchen by choosing complimentary colors. The kitchen is done in a light taupe/grey color. 

Before:

After:


Lots of texture and natural elements were used to decorate the room. Coral is very on trend now - the object and the color.


Every room needs flowers and they do not need to be fresh all the time. Here we used dried Hydrangeas from my garden to bring in a rustic element.


This fruit bowl is Nate Berkus for Target, and the perfect piece for the dining table.


Warm knitted throws draped on the armchairs added a textured layer and a creamy color.


This porcelain blue tray from Urban Barn was a beauty.


This Mid Century Modern table was the perfect fit in the room. I wanted something long that pulled the eye in toward the window and something with rounded edges. 


Botanical prints from a vintage book were the perfect fit in this cozy room. I decided to put them on both walls giving it a symmetrical look. And the client was absolutely delighted with them.


Pot lights on dimmers and the light filtering through this burlap lampshade make the room inviting in the evenings.


These pics were taken a couple of weeks later after the fabric blind had arrived and was installed. It provides much needed protection from the direct sunlight during the day and a lovely textured layer to the large window.


The table was set up with matching burlap table mats for the evening.


What made this a wonderful job for us was that the client was super easy to work with and gave us creative freedom. Dhiraj also did her kitchen build  and basement design and remodel. We are so excited for the Home Tour happening on March 28, 2015...............9 sleeps more to go ! 

If you would like to join us for the Home Tour to view the living room, full kitchen remodel, basement design and build, then you can email me at contact@wildenorth.com

Hugs
Lynda

Wednesday, February 25, 2015

Fenwick Basement Build....the Servery, the Laundry Room, the Custom Bar and more

The basement is almost done and I had to stop barrelling forth in order to do some of the custom work. You can see first round of pics here. Updates on:

The Servery


This is in the Servery. I had to bump out this wall 4 inches in order to accommodate the furnace vent pipe, this allowed me to build these custom alcoves. Why three?? Why not two or four?? Three is a very popular number that has made it's way into every aspect of the world's culture from religion to design. The basic idea of the rule - information and objects that appear in three are more appealing. Think rule of thirds in photographs and paintings. Think three act plays. Think fairy tales - The Three Blind Mice, The Three Pigs, Goldilocks and the Three Bears. Religious Triptychs - The Christian Holy Trinity, The Hindu Trimurti, The Three Jewels of Buddhism. Mottos - Liberte, Egalite, Fraternite. Veni, Vidi, Vici and of course, Wilde North's Design, Build, Decorate.

The recessed puck lights elevate the space and will serve to illuminate whatever the home owner chooses to display within.


In the Servery, I did not want a bank of cabinets as this is not going to be a full fledged kitchen, but a space to rinse a cup or two, and reheat food or make a microwave popcorn without having to leave what's on screen and go up a flight of stairs to the main kitchen. I suggested having only two cabinets, one at either end with and open space between them where bar stools will be placed. This makes the space multifunctional. At the far left resides a fridge and the adjacent cabinet will hide the microwave oven.


The Counter Top as well is custom. We used hardwood flooring strips that was left over from the home owner's main floor flooring project. The wood will be sanded to remove the coating, and then stained and lacquered.


The Main / TV Room


The space as it stands. The pillar visible in the first picture will be covered by a pillar kit. Pot lights line the ceiling and are spaced out to provide even illumination. The TV area is still to be worked on. I mentioned that I needed a creative solution for this space and I have a plan that I am working through. Stay tuned for more pictures on this space.


The Laundry Room


The laundry room was to be unfinished in the original plan. However the homeowner wanted no unfinished walls to remind her of the original space. The space was framed, insulated, drywalled and painted. We installed a new laundry sink. I also installed a full length cleat behind and to the right of the laundry pair. This was the support for the countertop. An extendible leg from Ikea provided the one support at the left of the pair. The corner was rounded to prevent damage to the countertop as well as to soft tissue that humans are made of. The countertop is essential in my view as this prevents stuff from falling behind the machines as well as a handy surface for folding clothes. I added the alcove as an afterthought to store laundry items. This one is purely practical. A simple wrap around shelving unit will complete the space.


The Custom Bar


And finally, what I believe will work out quite well, is the "Little Bar under the Stairs". I conceptualized this while getting a feel of the space. I wanted to do something unusual in a space that was rather challenging on account of the stairs. The wine bottle rack fills up an oft forgotten space, below which will stand a cabinet that will roll out to allow access to the crawl space beneath the stairs. Under the stairs will be shelves to hold glasses. I wish I could explain it properly, but it all resides in my head for now. A bar under the stairs....... Harry Potter would be so proud. Now that he's all growed up. If Ginny allowed him the occasional libation of course.

Stay tuned for final pictures in the upcoming weeks. This one is going to be good.

Dhiraj.

Monday, January 5, 2015

Fenwick Basement Build - Preliminary Pictures

Just started prep work on a new basement build in Mississauga. This is a town house with approximately 500 sq ft. of unfinished space. As part of the build, we relocated the laundry area to an alcove near the stairs. We had to put in a new floor drain and drains for the washing machine and the laundry sink as they are on opposite walls. The old blanket insulation was removed and disposed off prior to the photos being taken.

This is the main wall and the wall that the TV will be mounted on. I have to come up with a creative solution to hide the Main Panel.

New floor drain and pipes for the Washer. The sink will be at the side of the stairs.

Stairs and landing coming into the basement. 

The existing laundry pair. This will become the kitchenette area.

 The main wall again.

Existing laundry and furnace area.

Another view of the existing laundry area. This will become a future Kitchenette.

 I had to bring down the old sofas from the living room. Good thing I did it now as I had to remove part of the stairwell. The only way they're ever going up again is is pieces......


I am going to try out something new here. Stay tuned

Dhiraj

If you are looking for solutions for your home, contact us about our design, build & decorate services.
Related Posts Plugin for WordPress, Blogger...