Friday, April 10, 2015

Product Spotlight: Rub 'n' Buff

During our last trip to the US we picked up a new product called 'Rub n Buff'. We found it at Hobby Lobby which I have to say is a huge huge store (not a good idea to visit when you are exhausted). Anyhoo we came back home and decided to try it on my Ram skull. 

The product is a cream that colors any surface you may choose. You rub it onto the surface with your fingers and it adheres beautifully with no rub off. No need to lacquer after either. We decided to apply it only to the horns of the Ram skull to kinda highlight them. And voila ! it turned out just fine. 

It comes in a variety of colors too, here we used Grecian gold which looks like a tarnished gold and surprisingly matches my framed sketch. And now my skull sits proudly in the chevron tray D made for me.

Here are some process pics. Have you tried Rub 'n' Buff before?? You like??

Ram skull in original state of full white


That grey line there is where the skull cracked and we glued it up but I never got round to painting it

Be sure to tape off the area you plan to color in before you start. Being a creamy product it would tend to spill over.


We decided to leave it a bit unfinished by not pushing the cream into the crevices..........giving it a rustic look.


Hugs 
Lynda


Wednesday, April 8, 2015

How my Conscience became the most expensive tool in my arsenal

There's no denying that I'm a Tool Whore. I try to be up to date on the latest and greatest in the tool world and where money allows, I like to have these in my possession.
Recently one of the guys that assists me, commented on the amount of tools required to finish a project and how sometimes there's that one tool that will do just the one job and nothing else.. He then asked what would be the most expensive tool in my possession. Now, I'm not a fan boy when it comes to tools. I won't buy the brand names just because they have the 'contractor' moniker on it. I'll do well enough with a couple of grades lower. My Ryobi 18 One+ system has been with me 7 years now without a hiccup.
  
So I thought about the question and came to the realization that if there's one thing that cost me more in time and money, it would be my conscience. How so??? Oftentimes on jobs, I run into issues not of my making and not inherently connected to the work I'm doing. If the homeowner is around, I explain the need to rectify the problem before carrying on. If not, I'm faced with the quandary of lost time, or fix it at my cost and move on. Many times, it's the latter. Sometimes customers agree to the fix. Mostly they don't.


And so, Conscience costs me time, money and stress. I should box this and sell this new line of tools. Conscience - You pay a lot, but there's nothing to show for it!!!!

Dhiraj

Saturday, April 4, 2015

Fenwick Kitchen Design & Build

Ok so we are still on our high (at least I am - D started a new basement straight after) from the successful Home Tour last weekend and I cannot get over the great feedback we got from our clients, friends and family. Everyone came out to support us and review our work. I honestly did not think this would be such a monumental evening. Thank you to everyone for joining us for the Fenwick Home Tour. We could not have done this without you.......like literally ! :)

The Home Tour included the fully interior decorated Living Room, the remodeled kitchen and the basement design & build. The kitchen got a lot of positive feedback with every single person walking in (and I mean every single person) stopping to touch the back splash. And when I say touching I mean that in every bad way possible.........caressing, rubbing up against, fantasizing..........(oh they will all agree with me when reading this). I had some clients calling me back to ask me if they could 'hug' the kitchen. I say 'Hug away '.........fulfill all your fantasies right here ! lol.

Anyhoo back to serious matters the kitchen was completely gutted and remodeled with new walls, cabinetry, (THE) back splash, granite counter tops, pot lights, 24 x 24 floor tiles, under cabinet LED lighting, heavy duty range hood and custom storage solution for recycling bins. The kitchen was renovated after 18 years and the client was super delighted with the new kitchen. The gorgeous french doors at the other end let in sunlight all day brightening up the space. With the light colored fittings, floors and sunlight this space is one bright and happy room to hang in. 

Here are the before and after pics. 

BEFORE

The gorgeous french doors at the opposite end
The 24" x 24" matte porcelain floor tiles feel soft and warm underfoot almost like carpet.

Behold the wicked back splash ! 


The client preferred to have the TV in the kitchen as it allows her to keep up to date with the morning news while having breakfast.


The client wanted her bins to be out of sight so we built a custom solution inside the drawer to the right of the range. The recycling bin sits on a raised platform bringing all bins to the same uniform height.

You can see more pics of the kitchen on the website as well as pics of the Living Room and Basement.

Contact us if you feel your rooms need an overhaul or you just need a huggable kitchen !!


hugs
Lynda


Thursday, March 19, 2015

Fenwick Living Room Redecorate

Sometimes life gets so busy that you live in a space for decades and nothing in it changes. This living room was put together 18 years ago and it remained the same till the beginning of this year.

Our client wanted a complete overhaul of her living space that reflected her current lifestyle and wanted to update the room in line with current trends. Since she does crazy shifts, it was important to create a warm and cozy space for her to come home to and be able to relax in. She loves plants so we incorporated botanical prints in the artwork on the walls and the personal touches around the room.

What you can't see here is the popcorn ceiling that we took out and repainted a bright white. The walls were painted a pretty duck egg blue which has a calming effect when you step into the room. It was important to have a flow between the living and kitchen by choosing complimentary colors. The kitchen is done in a light taupe/grey color. 

Before:

After:


Lots of texture and natural elements were used to decorate the room. Coral is very on trend now - the object and the color.


Every room needs flowers and they do not need to be fresh all the time. Here we used dried Hydrangeas from my garden to bring in a rustic element.


This fruit bowl is Nate Berkus for Target, and the perfect piece for the dining table.


Warm knitted throws draped on the armchairs added a textured layer and a creamy color.


This porcelain blue tray from Urban Barn was a beauty.


This Mid Century Modern table was the perfect fit in the room. I wanted something long that pulled the eye in toward the window and something with rounded edges. 


Botanical prints from a vintage book were the perfect fit in this cozy room. I decided to put them on both walls giving it a symmetrical look. And the client was absolutely delighted with them.


Pot lights on dimmers and the light filtering through this burlap lampshade make the room inviting in the evenings.


These pics were taken a couple of weeks later after the fabric blind had arrived and was installed. It provides much needed protection from the direct sunlight during the day and a lovely textured layer to the large window.


The table was set up with matching burlap table mats for the evening.


What made this a wonderful job for us was that the client was super easy to work with and gave us creative freedom. Dhiraj also did her kitchen build  and basement design and remodel. We are so excited for the Home Tour happening on March 28, 2015...............9 sleeps more to go ! 

If you would like to join us for the Home Tour to view the living room, full kitchen remodel, basement design and build, then you can email me at contact@wildenorth.com

Hugs
Lynda

Wednesday, March 11, 2015

Home Tour at Fenwick Residence

We are wrapping up work at the Fenwick Residence where we completed the Living Room Full decorate gig, Basement build and Kitchen remodel. Since this is the first time both of us have done work in the same home we thought it would be a good idea to host a HOME TOUR for our clients. The homeowner has kindly allowed us to host it on March 28, 2015 and you are kindly invited to drop in anytime from 4 - 10 pm on the Saturday.

This is the first time we have done something like this and are super excited for our clients, friends and family to see our work in person. 

If you are keen to join us for the tour please email me at contact@wildenorth.com

Hugs
Lynda


Thursday, March 5, 2015

Micro Design: Wall Niches


Until I got into the business of renovating, I used to associate niches with stately homes, in pre-Edison times, where Florence Nightingalesque women in diaphanous nightgowns would set their candelabra while looking out over their moonlit estate. Granted, they all wouldn't be in diaphanous robes, but sometimes my mind is dirtier than a basement in progress. 

These days builders give you very little architectural details while taking all of your money. When building spaces, I like to create architectural features when the opportunity arises. 


RoseHurst Home>>

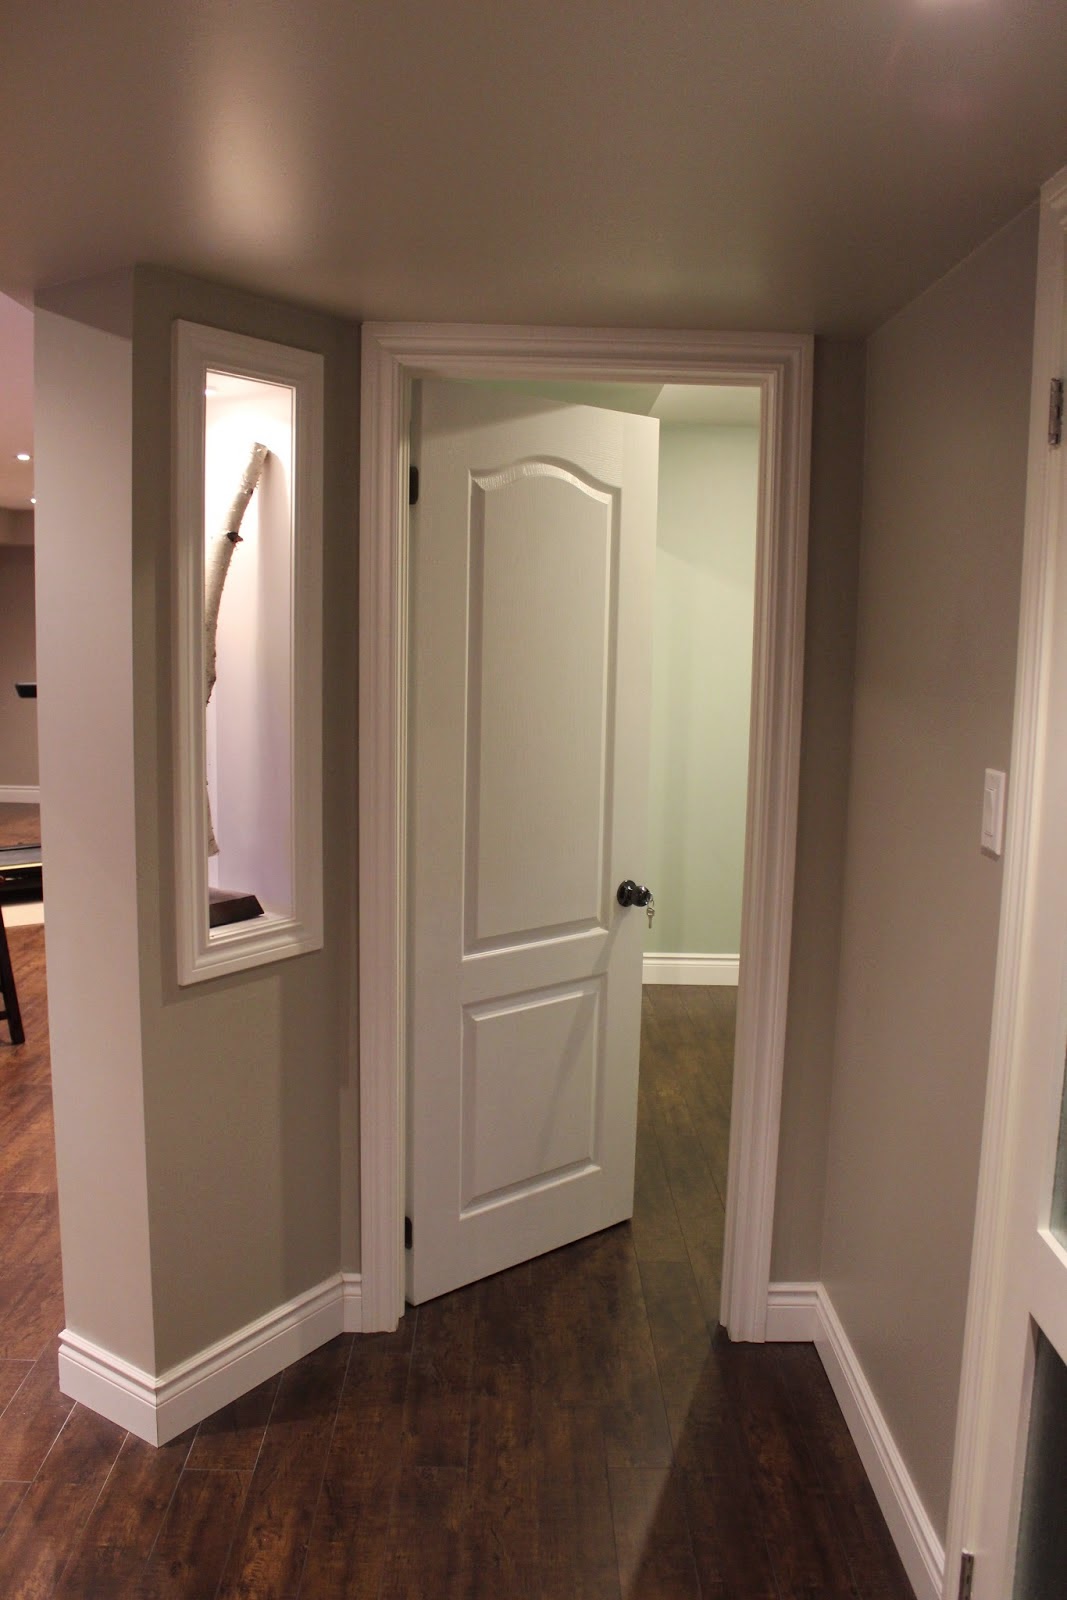
Here, in cladding a pillar, I added a pass through niche, in which I elevated a single branch of a birch tree. The branch was from the tree in my yard. The base was cut from a 2 x 8, relieved with a 15 degree angle and the upright is a nine inch nail recovered from an eaves through job.


East Mall Home>>

In this case, a solid cinder block pillar necessitated building a dummy wall. This allowed us to recess a small display niche for some of the homeowners curios.

Fenwick Home>>

Here, an opportunity arose to have three niches built. Look at this post for the science behind the numbers.

Beckwith Home>>

In this case, the location and proximity to the TV, inspired me to recess the homeowner's A/V equipment into the wall itself. Though not technically a niche, and more of a cabinet with a door, this employs the same thinking as the above niches.

As always, I add lighting to these niches. This allows the objects d'art or common crap to be elevated into the design firmament.


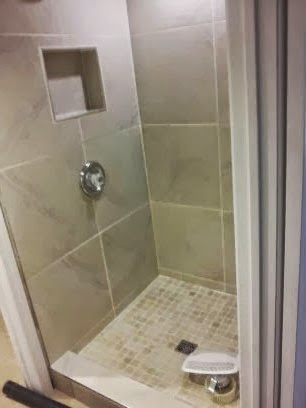
Let's not forget the more functional washroom niches that I insist on building in every shower cubicle. In the past I've seen shampoo bottles (I live with three women) line the tub, line the floor, set on a rusted corner stand and hung on a caddy from the shower head. Let's not fool ourselves. They are all crappy options. The most elegant solution, is the wall niche.
  
I usually build mine out of the direct line of fire i.e. away from the water spray and on the same wall of the shower controls. The niches all slope down one degree and mitigate the destructive effect of standing water. Your shampoo looks nice all lined up, no rust stains from some piece of junk, no strained back from bending down to pick up that bottle.


East Mall Home>>

RoseHurst Home>>

Beckwith Home

Cloverdale Home>>


And don't forget, I can build them as big as you want......

Dhiraj.
Related Posts Plugin for WordPress, Blogger...